Physical Address
304 North Cardinal St.
Dorchester Center, MA 02124
Physical Address
304 North Cardinal St.
Dorchester Center, MA 02124

DIY Wall Art Ideas for Beginners are a fun, low-cost way to personalize your space without needing advanced skills. Whether you rent, repurpose thrift finds, or want a quick weekend project, these ideas will help you create art you love. Read on for step-by-step projects, tips, and resources to get started today.
Below are beginner-friendly projects organized by time, cost, and style. Each project lists materials, quick steps, and helpful tips so you can jump in with confidence. Save the page, pick one project, and collect a few basic supplies to start.

Time: 30–90 minutes | Cost: Low | Skill: Beginner
Materials: blank canvas, painter’s tape, acrylic paints, foam brush.
Steps:
Tip: For flowing lines, tape the canvas on the wall, draw continuous guide lines with a pencil, then take it down to paint (a method echoed by many DIYers online).
Time: 1–2 hours | Cost: Low | Skill: Beginner
Materials: wooden dowel or branch, yarn in a few textures/colors, scissors, comb for fringe.
Steps:
Resources: For more yarn wall hanging inspiration, check curated boards on Pinterest — there are dozens of patterns and simple techniques to follow (We Are Makely Pinterest).

Time: 1–3 hours | Cost: Low–Medium | Skill: Beginner
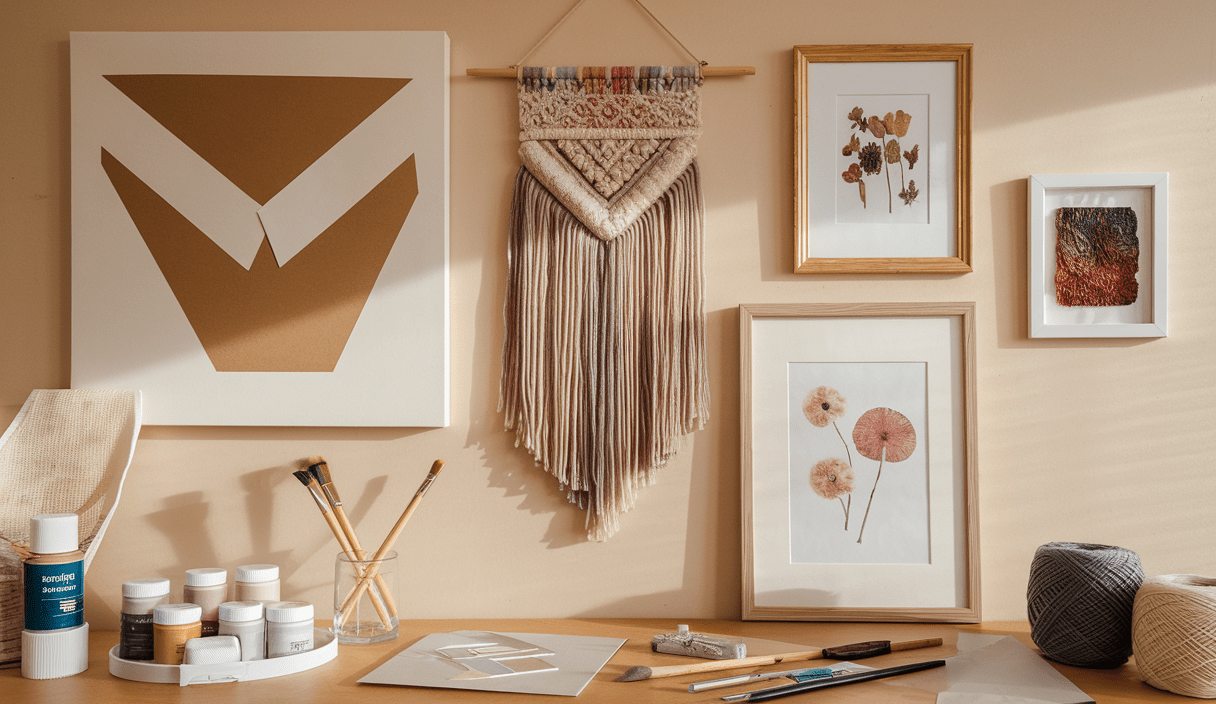
Materials: assortment of frames, scrapbook paper or printable art, template for spacing, small level.
Steps:
Pro tip: Use similar mats or paint frames the same color for a cohesive look.
Time: 1–2 hours | Cost: Low | Skill: Beginner
Materials: canvas, printable stencil letters, acrylic paint, sponge or stencil brush.
Steps: Trace or tape a stencil, dab paint gently, remove stencil when dry. Choose a short message, name, or positive word.
Time: 30–60 minutes | Cost: Low | Skill: Beginner
Materials: acrylic paint, brushes, canvas or paper, cotton swabs or fingertips for dots.
Why it works: This tactile technique creates a handmade feel and looks surprisingly polished when repeated into patterns.

Time: 1 day (pressing time) | Cost: Low | Skill: Beginner
Materials: fresh flowers, heavy books or flower press, clear frames, acid-free paper.
Steps: Press flowers between parchment and books for a week, arrange on acid-free paper, frame. Great for botanical accents and seasonal decor.
Time: 2–4 hours | Cost: Low–Medium | Skill: Beginner
Materials: corrugated foam core or foam board, small nails or brass tacks, string or embroidery floss.
Tip: HGTV recommends using corrugated foam core and nail heads for crisp graphic designs—choose a name, word, or simple shape to outline (HGTV: DIY Wall Art Projects).
Time: 1–3 hours | Cost: Low | Skill: Beginner
Materials: world map printout, small photos, glue dots, frame or corkboard.
Steps: Attach small photos to locations you’ve visited, creating a travel-story wall display.
Time: 1–2 days (drying time) | Cost: Low | Skill: Beginner
Materials: inexpensive cotton fabric or canvas, indigo or blue fabric dye, rubber bands or clamps.
How-to: Fold and bind fabric in simple patterns, dip in dye, rinse and stretch across a wooden frame for a soft, modern piece. For more modern textile ideas, Lemon Thistle shares projects like faux Shibori and mini weaves that are perfect for beginners (Lemon Thistle: Modern Wall Art DIYs).
Time: 15–30 minutes | Cost: Very Low | Skill: Beginner
Materials: printable files (free or paid), high-quality paper, frame.
Steps: Download an artwork or quote, print at home or at a shop, frame. This is the fastest way to test a color palette on your wall.
Time: 2–4 hours | Cost: Medium | Skill: Beginner
Materials: pouring medium, acrylic paint, canvases, level surface, disposable cups.
Note: Pour painting can be unpredictable but yields one-of-a-kind results. Protect surfaces and practice on small canvases first.
Time: 30–90 minutes | Cost: Low | Skill: Beginner
Materials: foam core or thin plywood, staple gun, fabric.
How-to: Stretch fabric over panels and staple on the back. Group three panels for a modern triptych effect. This is perfect for bold colors or patterns you want to introduce to a room.

Most projects use common supplies. Here are practical tips to keep costs down and results polished.
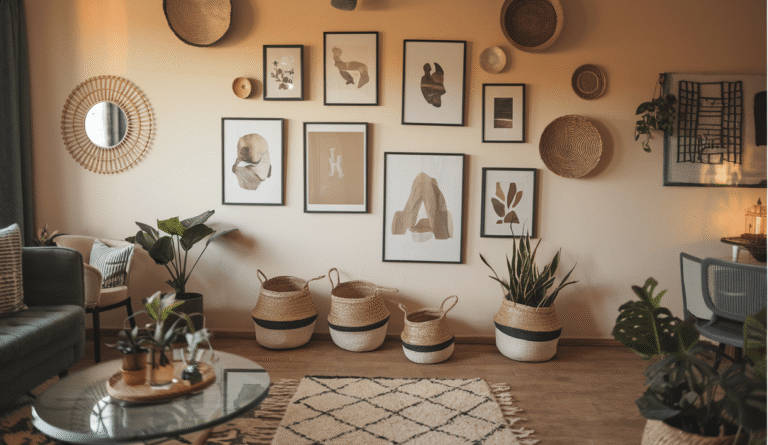
Hanging art well makes a big difference. Keep these rules simple:
Straightforward tips to keep projects stress-free:
Explore curated ideas and step-by-step tutorials to expand your skills:
If you’re new, pick a single quick project like a stencil canvas, yarn hanging, or framed printable. These give fast wins and build confidence. Remember: small, consistent projects turn into a cohesive gallery over time.
To keep handmade pieces fresh:
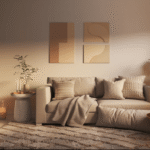
Measure the wall space and use painter’s tape to map out the scale. For above furniture, provide visual breathing room with art slightly narrower than the piece below (about 60–75% of its width).
No. Many beginner projects rely on pattern, texture, and repetition rather than freehand drawing. Techniques like stenciling, tape lines, and fabric panels are designed for reliable results.
Let the layer dry, sand lightly, and repaint. For abstract or poured pieces, use mistakes as design elements—add layers or masking to integrate them.
Thrift stores, dollar stores, and craft outlets often have great finds. Buying basic supplies in neutral colors will serve many projects over time.
Watch a quick video for texture and technique inspiration. The clip below demonstrates textured and tactile approaches that work well for beginners.
Pick one project and set aside a weekend. Keep a simple toolkit ready and take photos of each finished piece—this helps you refine style and build a cohesive gallery. The key to success is experimenting and enjoying the process.
For ongoing inspiration, explore the links above and follow craft boards on Pinterest or blogs that post step-by-step tutorials. Practical how-tos help you level up quickly.
Ready to try your first project? Choose a simple tutorial, gather your supplies, and set a timer for a creative hour. You’ll be surprised how satisfying it is to see your DIY wall art come to life.
Want more guides? Explore practical decor and craft tutorials on zenpulsehub.com — your next creative idea is one click away.